Version Française
![]()
How to paint a Pouchel
You have to have :
-A big enough garage to work (at least 1m wider than the wing). Careful, you have to wait a minimum of 5 hours to move the wing.
-Somebody else to move the wing, and eventually put the tape
-Enough trestle
-A little washing powder
-A gloss roller with short hairs
- Paint ! The glycero paint is cheaper and it have a very nice covering effect. It's also harder to use and to clean. I used acrylic paint because it's easy to use, but it was also more expansive and it have a poor covering effect. So I recommand the glycero paint.
-A protection suit
-It your desing requires to mark lines, you'll need: - a"black" pencil, some good quality masking tape, a tape rule and some string.
The total cost is between 150€ and 250€ depending on the type of paint, the number of colors....
It will last :
-Half a day for cleaning and drying
-A day (line marking included) by color. So 2 days for monochrome wings, 4 days for bicolor wings etc...
Careful, the line marking operations are longer than they look.
So, we're ready
Before
First, some clean blueprints
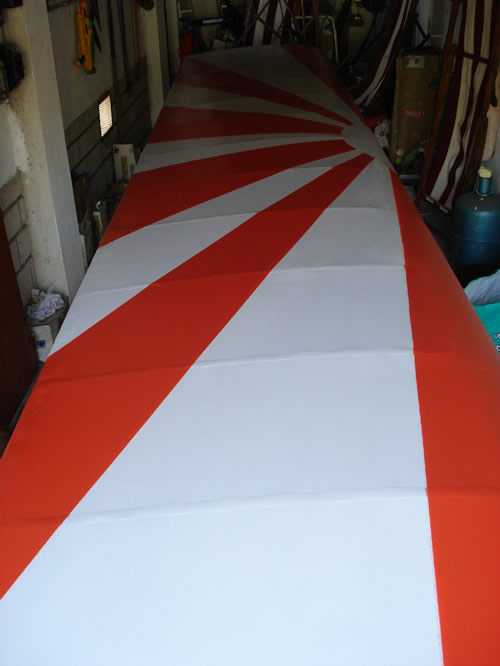
The goal is to make a red and white wing. The design looks like the one of the WWII Japanese aircrafts. But the colors are inverted (the "sun" is white).
First day
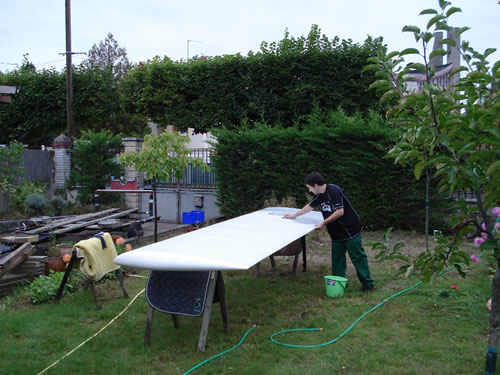
First step, clean the wings with the washing powder. With a friend to help you, this step won't take more than two hours.

When the wings are clean, you have to store them for drying.
Second day

My grandfather is here to help me to mark the lines. This step is crucial and it's way better to be two in order to be more precise. It's very important for the final result. It takes around one hour for each wing.
A stick allows you to easily mark some straight lines.
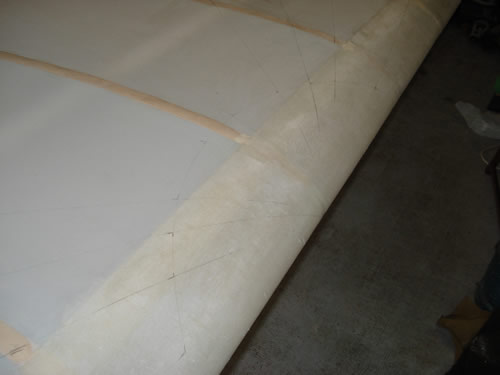
To mark the circle, use a string and a fulcrum.
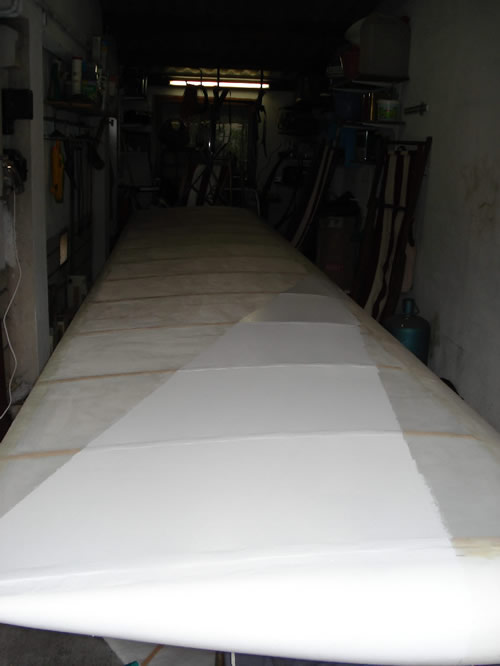
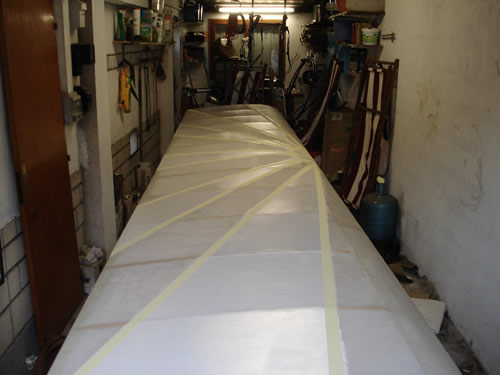
Finally a result, the first white strip.
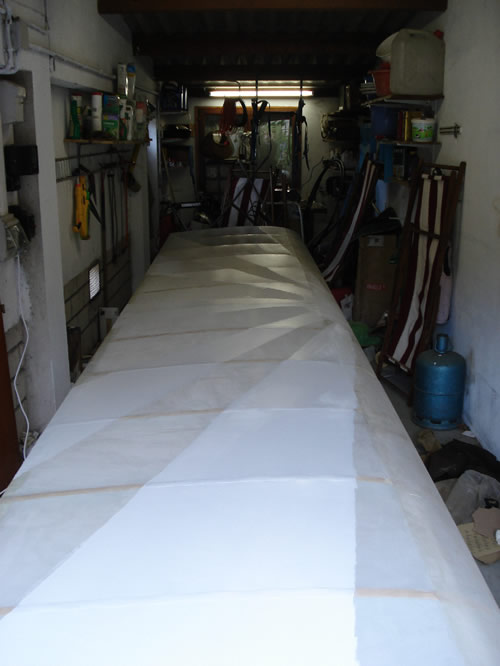
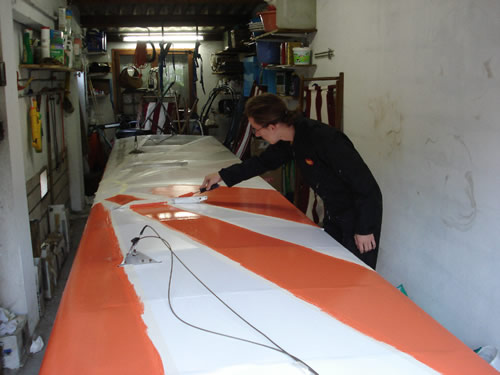
The white stripes of the upper side of the front wings are finally painted.... 7 times to same thing to go !
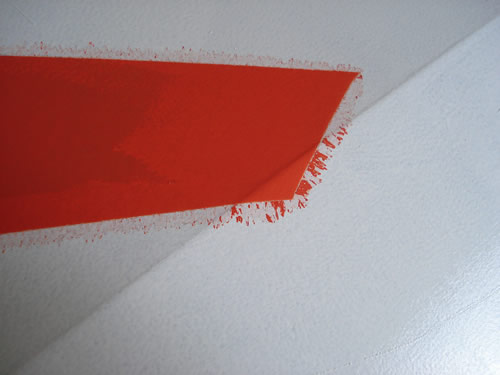
It took me half an hour to pain the stripes. Notice that there's no ductape. I painted over the lines. The excess of white paint over the lines will be covered with the red paint.
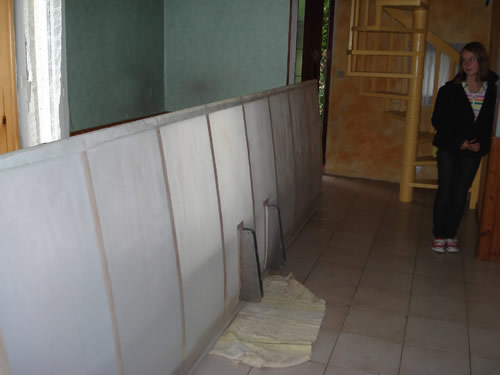
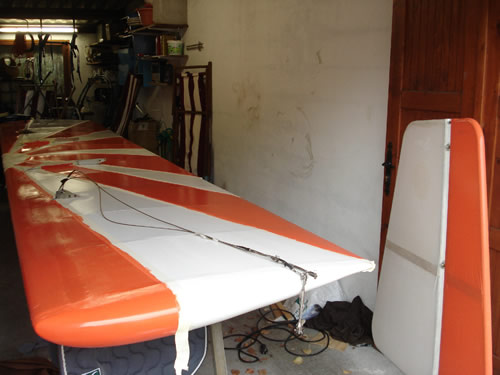
The rear wing is waiting for it's paint. It's not heavy, so even my little sister can help me move it.
End of the difficult first painting day !
Third day

Positioning of the masking tape on the rear wing. There's no need to be extremely precise for the measures. The more important thing is for your lines to be perfectly straight.
Same job on the front wing.
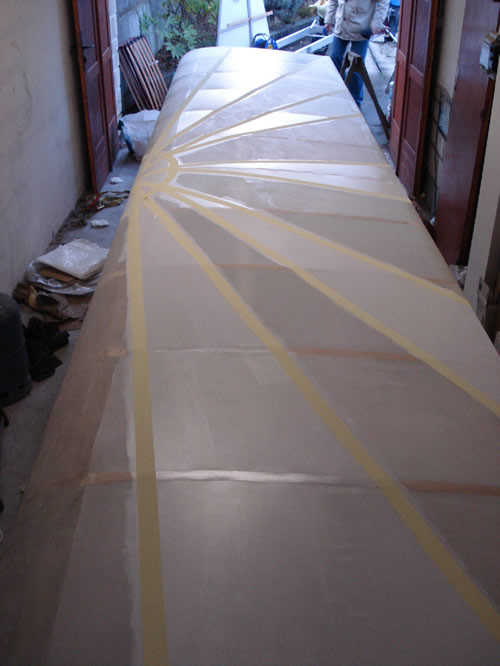
On an another angle
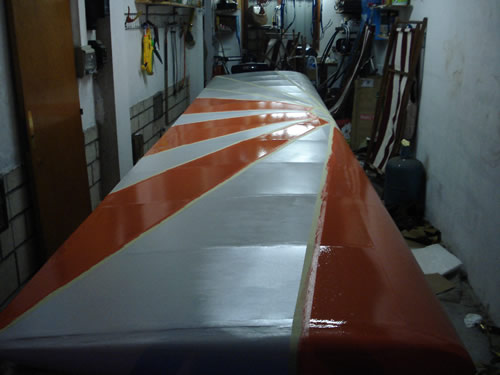
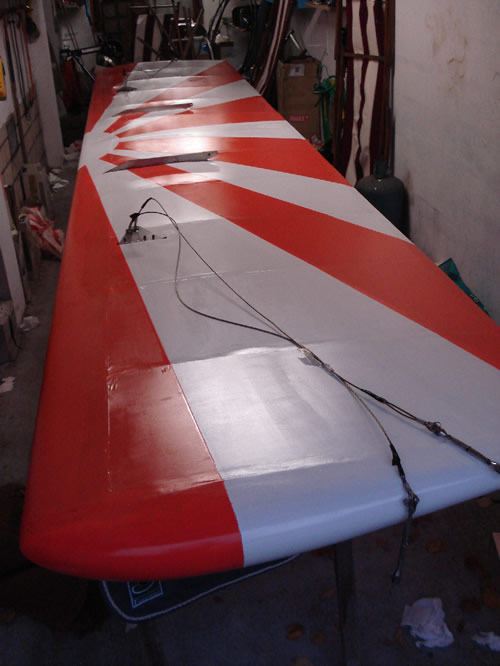
By night, painting of the red stripes on the front wing. When the masking tapes are in place, painting is very pleasant.
The acrylic paint don't have the same covering effect than the glycero one. So the white pain is unfortunately still visible if you are close (but it's rarely the case on an airfield :) !!)
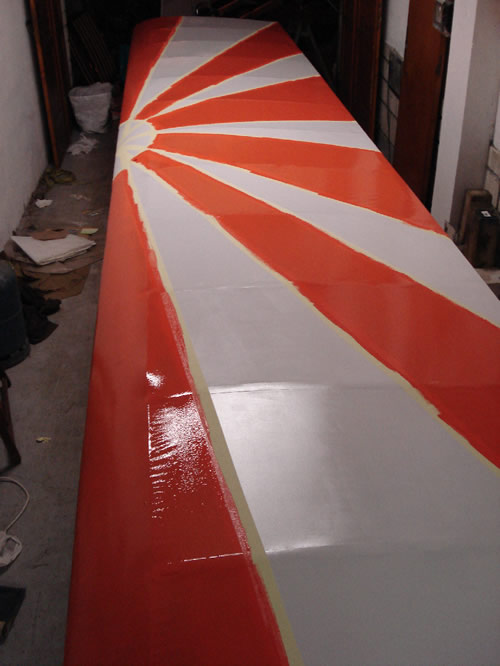
Even with the masking tape still in place, the first result is giving you a moral boost after three days of work.
The red stripes on the rear wing.
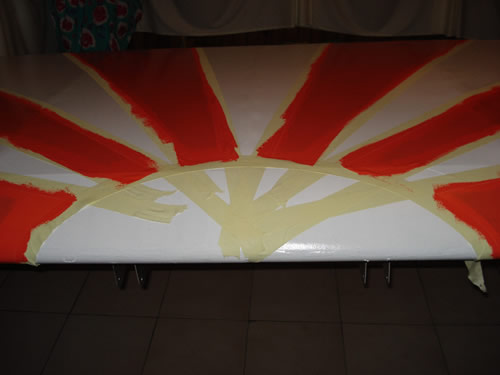
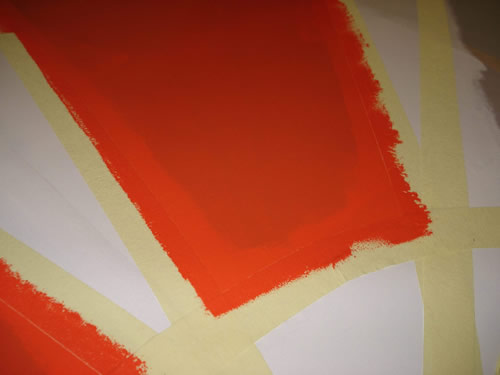
The circle. It's hard to put the masking tape in a good position !
Fourth day
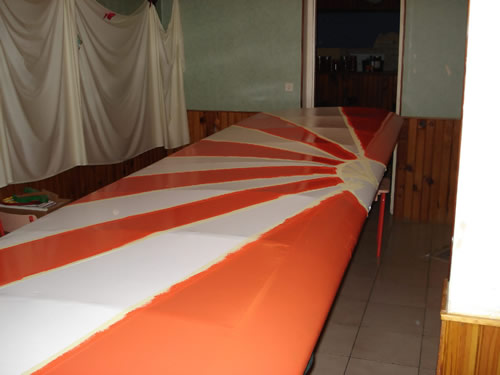
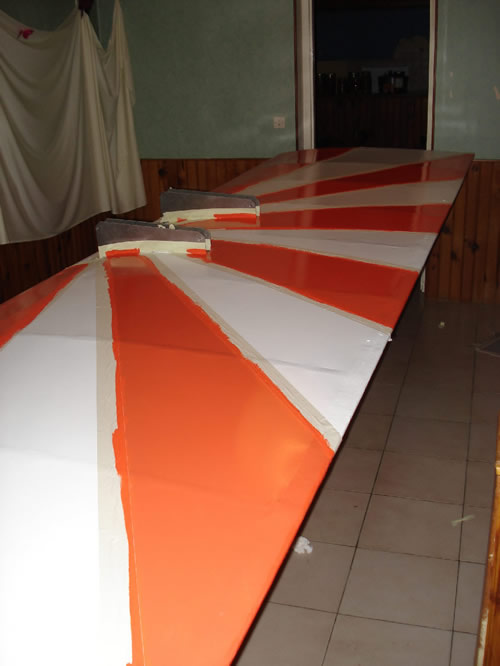
Finally, a good result on the rear wing. A good satisfaction and motivation for the other side !
You have to use a masking tape of the best quality possible. Mine was apparently not good enough !
The upper side of the front wing is also finished. The work is halfway done !
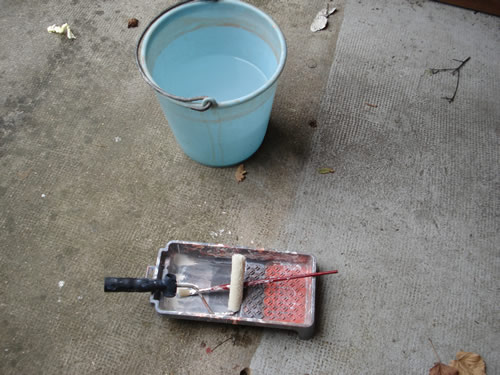
Take a good care of cleaning your hardware !
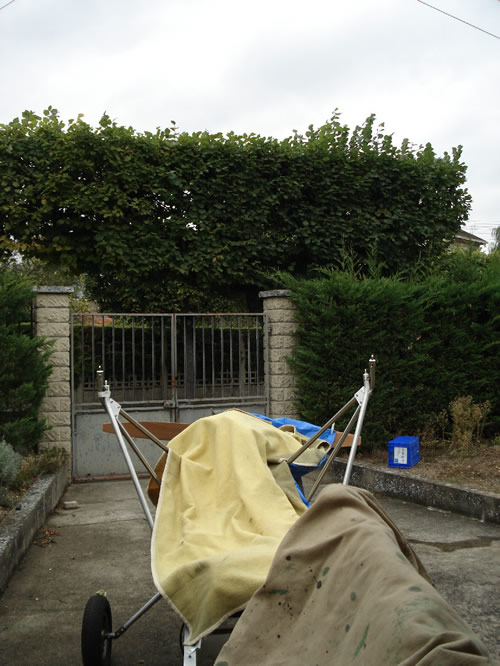
Take care of the rain if your garage is too small for the wing and the aircraft.

Then the other side of the wing. A little harder because of the metal pieces.
Last day
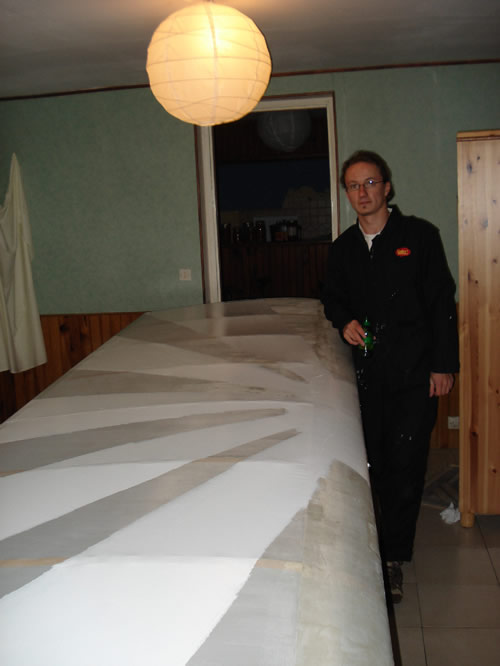
Myself while painting the red stripes.
When it's drying, take care of the stabilizer.
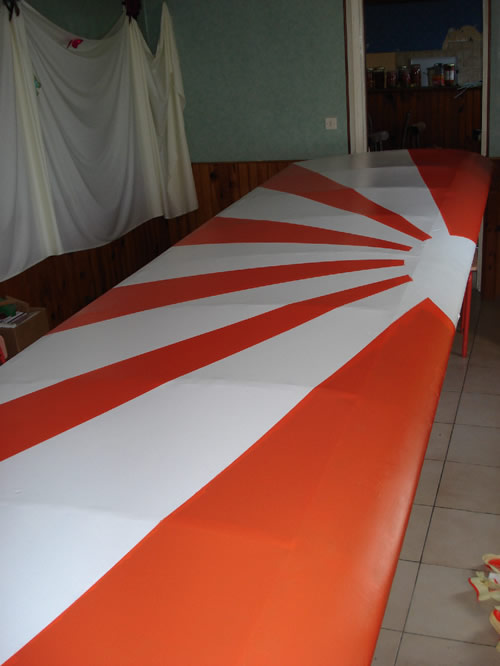
The front wing is finally finished !
As for the rear wing !
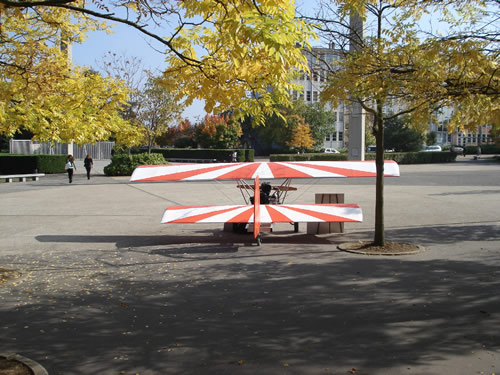
The final result
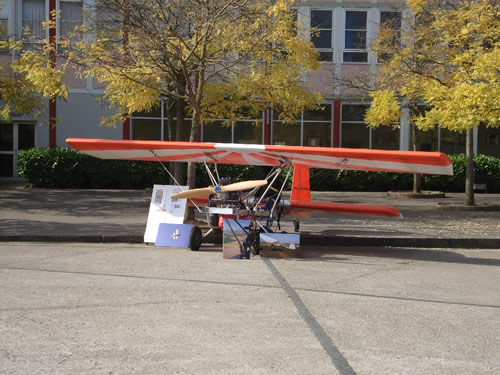
It's a success !
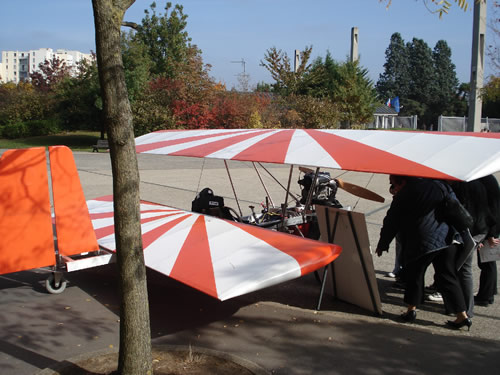
The aircraft is shown in the high school where she was built.
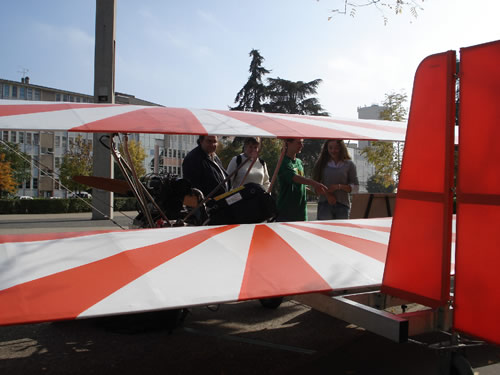
The afternoon sunshine
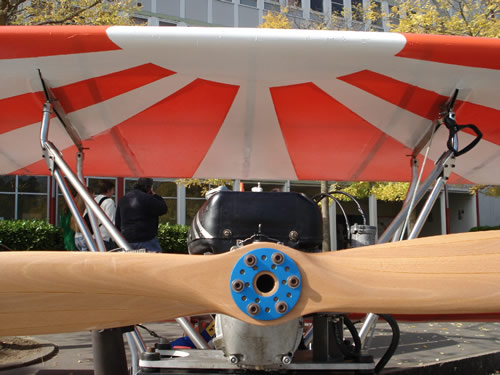
The result for the circle is even better than I expected !
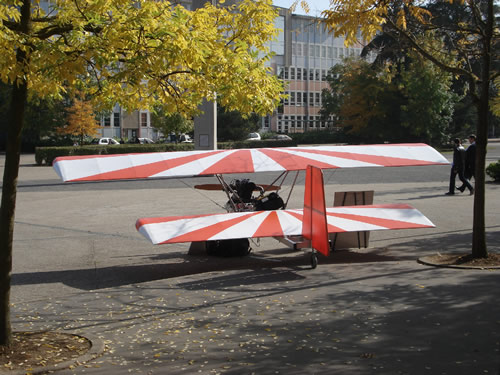
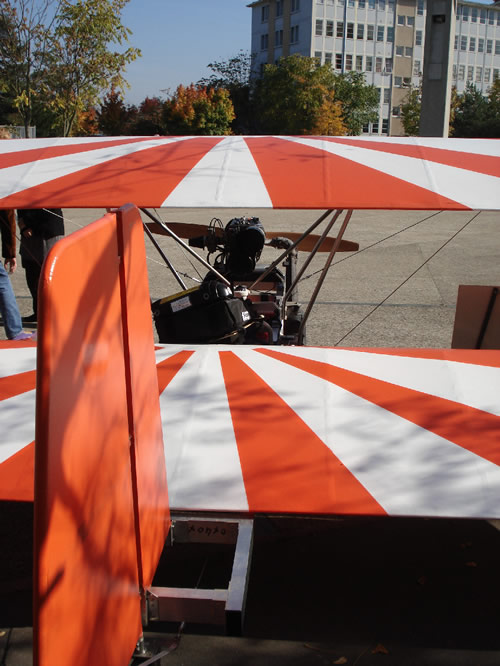
I totally worthed it !
2008; By Charles Donnefort, webmaster-painter